Many teachers use PowerPoint in their lessons and want to put Voki into their presentations. There are several ways of putting Voki onto your PowerPoint presentations.
So we compiled a list (from the simplest way to the hardest way!) on how to put your Voki onto your PowerPoint presentation! Let’s all take a look!
Direct Link to Voki Character
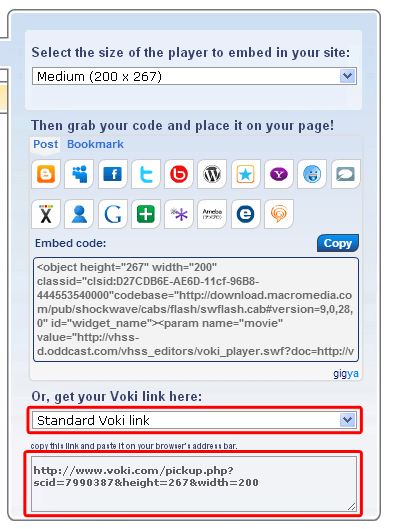
- After you published your Voki, select your Voki size.

- Select your Voki link.

- Highlight and copy your Voki link.

- Paste the link into your PowerPoint slide.
Note: You need internet connection during your PowerPoint presentation to view your Voki. You can also view your Voki in full screen by checking out this Tip of the Week.
Voki as a Video
- After you published your Voki, create a Voki video. Check out this Tip of the Week on how to turn your Voki into a video file.
- In your PowerPoint, click on the Insert tab.

- Click on Movie and select Movie from File.

- Find and insert your Voki video file.

Note: If you are saving your PowerPoint presentation onto a flash drive, remember to also save your Voki video file in the same location! This will make sure that your Voki video will play when you open your PowerPoint on a different computer!
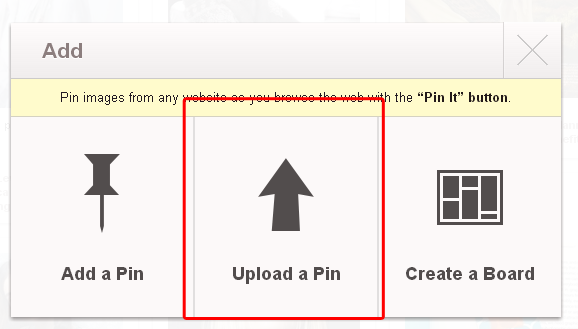
Using Embed Code
For PowerPoint 2010 users
- Click and copy your Voki embed code.

- Click on the Insert tab.

- Click on Video and select Movie from Website.

- Paste your embed code into the box.
- Click Insert.

- Now you have your Voki on your PowerPoint! To preview, just hit F5 on your keyboard!
For PowerPoint 2007
- Click and copy your Voki embed code.
- Open word document and paste the embed code.
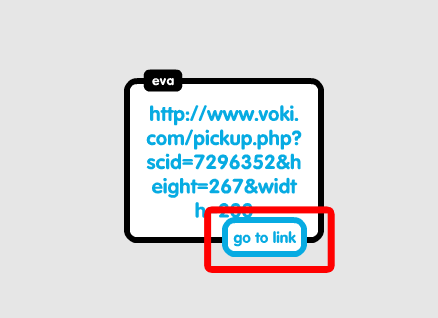
- Find the value code with a hyperlink.

- Select and copy that hyperlink.
- Now, go into your PowerPoint and click on the Ribbon. The Ribbon opens the dropdown menu for PowerPoint.

- Click on PowerPoint Options and a new menu will open up.

- Make sure that the option for Show Developer tab in the Ribbon is checked. If not, click on it and click OK. The Developer tab will be added to your Ribbon.

- Click on the Developer tab.

- Click on the More Controls icon (the one with a hammer and a wrench) and a new menu will pop up.

- Scroll down to find Shockwave Flash Objects and click OK.

- You will see a + sign as your mouse cursor. Click and drag on a blank PowerPoint slide. This will create a big box with an X in the middle.

- Right-click on the box and click on Properties and a new menu will open.

- Find the Movie line and paste the Voki hyperlink into the blank area. Then close the Properties window.

- To preview, just hit F5 on your keyboard!
PowerPoint 2013
1. Click and copy your Voki embed code.
2. Open word document and paste the embed code.
3.Find the value code with a hyperlink.
4. Select and copy that hyperlink.
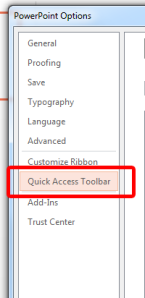
5. Now, go into your PowerPoint and click on File to open up the menu for PowerPoint and click on Option.

6. Click on Quick Access Toolbar.
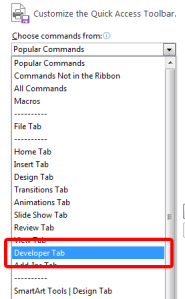
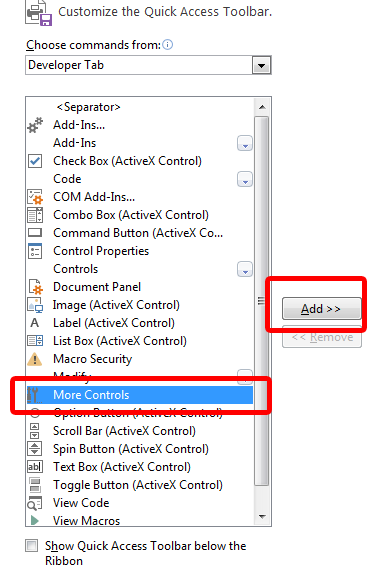
 7. From the Choose commands from: drop-down menu, locate and click the Developer Tab.
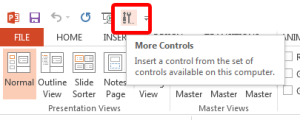
8. Locate and click on More Controls and click Add. It will appear on the top menu.
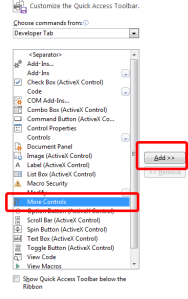
9. Click on More Controls.
10. Select Shockwave Flash Object.

11. You will see a + sign as your mouse cursor. Click and drag on the PowerPoint slide. This will create a big box with an X in the middle.
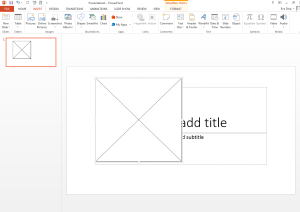
12. Right-click and select Property Sheet.
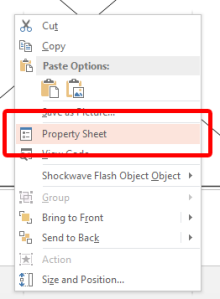
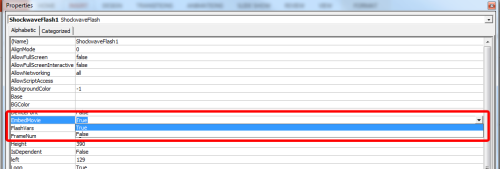
13. Find the Movie line and paste the Voki hyperlink into the blank area.

14. Find EmbedMovie and set it to True. Then close the Property window.
15. To preview, just hit F5 on your keyboard!
Note: To play your Voki using the embed code you must be connected to the internet.
Mac Users: Inserting Voki using the embed code may not work for Mac users, if you have any suggestions, please send it to feedback@voki.com. To insert Voki into your PowerPoint, use the direct link to your Voki or insert your Voki as a video.
Which method did you use to put your Voki on your PowerPoint presentation?
Have a comment or question for Voki? We are always here to help! Just send us an email at feedback@voki.com!
Until next time,
The Voki Team


